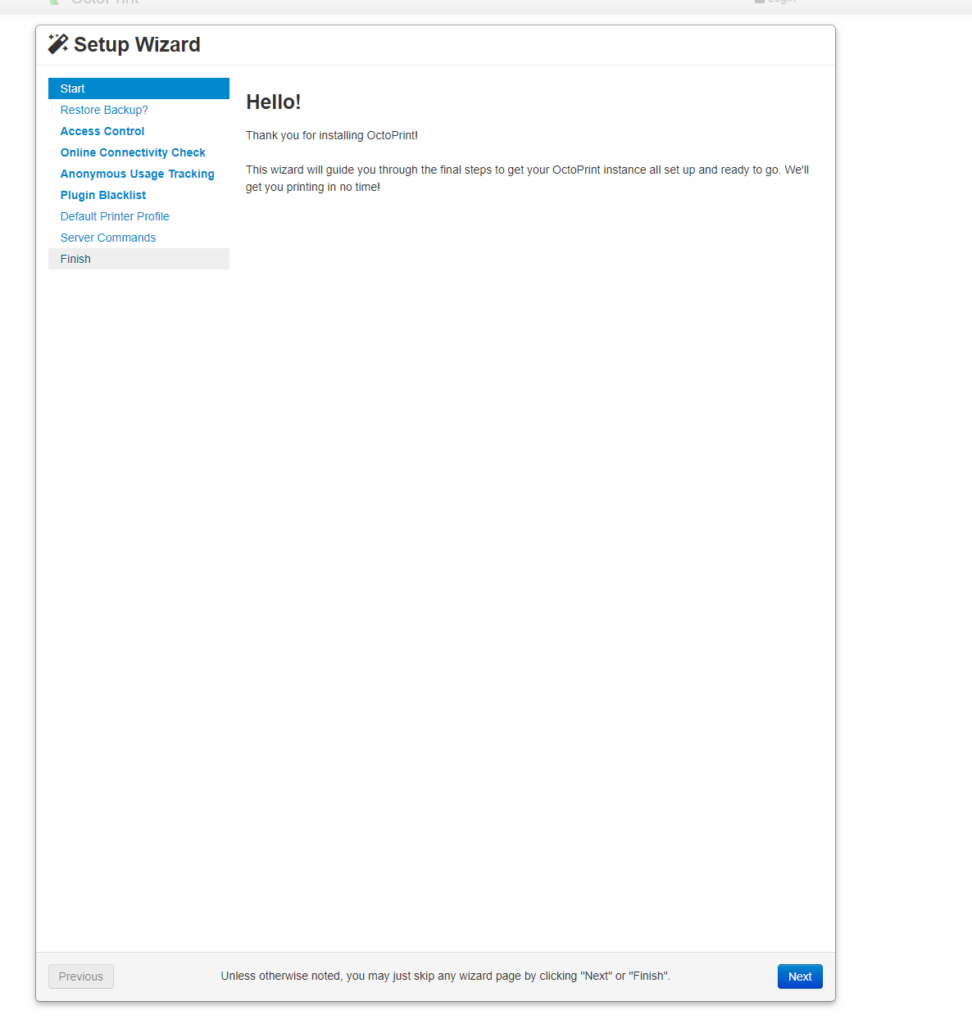
Setup headless (using Rasberry Pi installer, ctrl-r, x+shift) including ssh,+pwd, wifi
login using pi
pi@pi-printer:~ $ curl https://get.pimoroni.com/hyperpixel4 | bash
Option 4,1 (weidrly scare in my case)
Reboot
pi@pi-printer:~ $ curl https://get.pimoroni.com/hyperpixel4 | bash
% Total % Received % Xferd Average Speed Time Time Time Current
Dload Upload Total Spent Left Speed
100 41219 100 41219 0 0 201k 0 –:–:– –:–:– –:–:– 202kThis script will install everything needed to use
HyperPixel4Always be careful when running scripts and commands copied
from the internet. Ensure they are from a trusted source.If you want to see what this script does before running it,
you should run: ‘curl https://get.pimoroni.com/hyperpixel4’Do you wish to continue? [y/N] y
Pick your HyperPixel 4 and Raspberry Pi combo below:
0 : Rectangular – Pi 3B+ or older
1 : Rectangular – Pi 4 / Pi 400
2 : Rectangular – Pi 4 / Pi 400 – Experimental Touch Fix
3 : Weirdly Square – Pi 3B+ or older
4 : Weirdly Square – Pi 4 / Pi 400
Press Ctrl+C to cancel.If you have problems with your install
let us know: https://github.com/pimoroni/hyperpixel4Enter an option [0-4]: 1
Installing Rectangular for Pi 4 / Pi 400
Is this correct? [y/N] y
Using git branch: pi4Checking environment…
Updating apt indexes…
…………………Checking hardware requirements…
Checking for dependencies…
Cloning Github repo locally…
Cloning into ‘hyperpixel4’…
remote: Enumerating objects: 382, done.
remote: Counting objects: 100% (145/145), done.
remote: Compressing objects: 100% (103/103), done.
remote: Total 382 (delta 72), reused 80 (delta 35), pack-reused 237
Receiving objects: 100% (382/382), 751.76 KiB | 4.25 MiB/s, done.
Resolving deltas: 100% (187/187), done.Finalising Install…
Notice: building hyperpixel4.dtbo
Created symlink /etc/systemd/system/multi-user.target.wants/hyperpixel4-init.ser vice → /etc/systemd/system/hyperpixel4-init.service.
Installed: /usr/bin/hyperpixel4-init
Installed: /etc/systemd/system/hyperpixel4-init.service
Installed: /boot/overlays/hyperpixel4.dtbo
Skipped: dtoverlay=hyperpixel4 already exists in /boot/config.txt
Skipped: enable_dpi_lcd=1 already exists in /boot/config.txt
Skipped: dpi_group=2 already exists in /boot/config.txt
Skipped: dpi_mode=87 already exists in /boot/config.txt
Config: Added dpi_output_format=0x7f216 to /boot/config.txt
Config: Added dpi_timings=480 0 10 16 59 800 0 15 113 15 0 0 0 60 0 32000000 6 t o /boot/config.txtAfter rebooting, use ‘hyperpixel4-rotate left/right/normal/inverted’ to rotate y our display!
left – Landscape, power/HDMI on bottom
right – Landscape, power/HDMI on top
normal – Portrait, USB ports on top
inverted – Portrait, USB ports on bottomSome changes made to your system require
your computer to reboot to take effect.Would you like to reboot now? [y/N] y
Original TFT Display
dtoverlay=vc4-fkms-v3d
Setup Docker
curl -sSL -o install.sh https://get.docker.com
less install.sh
sh install.sh

Setup Octoprint in a Docker container
using pi default user
pi@pi-printer:~ $ mkdir octoprint
pi@pi-printer:~ $ cd octoprint
pi@pi-printer:~/octoprint $ wget https://github.com/OctoPrint/octoprint-docker/tree/master/docker-compose.yml
pi@pi-printer:~/octoprint $ sudo apt-get install docker-compose
pi@pi-printer:~/octoprint $ git clone https://github.com/OctoPrint/octoprint-docker.git
pi@pi-printer:~/octoprint $ cd octoprint-docker/
pi@pi-printer:~/octoprint/octoprint-docker $ sudo usermod -a -G docker pi
pi@pi-printer:~/octoprint/octoprint-docker $ docker-compose up -d


Check Service
pi@pi-printer:~/octoprint/octoprint-docker $ docker-compose ps

Check access using ip from Rasberry pi http://rasbberpypi

Enjoy !

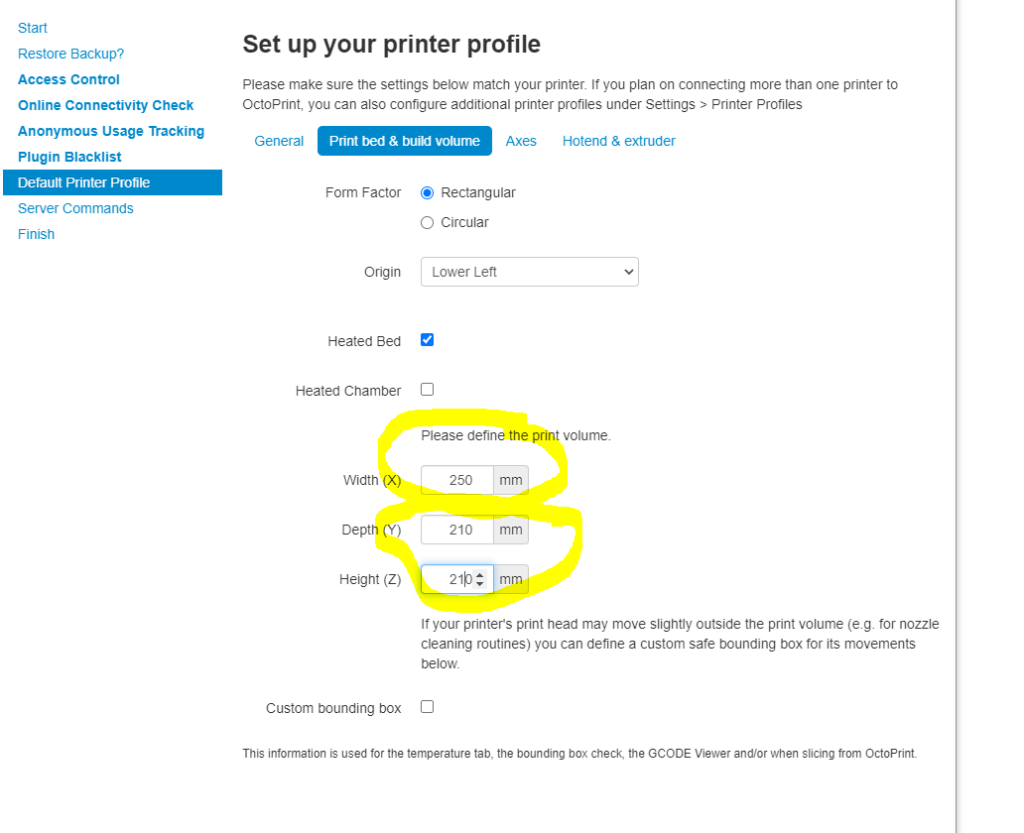
Base Profile MK3s


Comments (0)